|
|
Important: You are reviewing the Ipro for desktop 3.0 Help. To view the latest release of Ipro for desktop Help, click here. |

Review a Transcript
The process of reviewing transcripts typically includes the evaluation of transcript content and the marking of important details. Ipro for desktop includes various tools to help you review and annotate transcripts. On the Transcript Viewer, you can:
- create word indexes
- apply quick mark highlights
- add issue tags and notes
- link to exhibits and external documents
- jump to annotated entries in the transcript
- generate transcript reports
Open the Transcript Viewer
- In order to review a transcript, you must first navigate to the Transcript Viewer located in Review. To reach the Transcript Viewer from the Dashboard, click on the Review module.
- A dialog box displays, prompting you to select the appropriate Client and Case. Double click on the correct Client (or click the plus icon
 beside their name) to expand a tree of all cases associated with that client. Locate the correct case and then click Open. The Review work area displays.
 - Locate the Transcripts tab in the Case Folders pane on the left of the Review work area.
-
Double click the Transcripts tab to open the Transcript Viewer. You are now ready to review your transcripts.
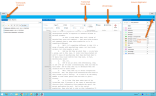

![]()
|
|
Note: In the far, right corner of the Transcript Work Area menu bar there is a bell icon. When the bell icon is white, When the bell icon is blue, |

 , this is an indication that other users have made changes to the case that are not visible to you. You must click the bell icon to refresh your view of the case to see the changes that other users have made.
 , your view of the case is up to date.
 For instructions on how to proceed through each of the review tasks, follow the steps listed below.
 Open a Transcript
You can open a transcript in Review using the Case Folders area.
To open a transcript, use the following steps:
-
Open the Transcripts Explorer.
-
Select a transcript from the list.
-
Click the Open button in the action bar in the Transcripts Explorer.
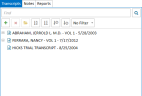
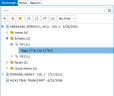
By default, the Transcripts Explorer tab is found in the Case Folders pane on the left of the Review work area.
![]()
The transcripts added to the case appear in a tree view in the explorer.

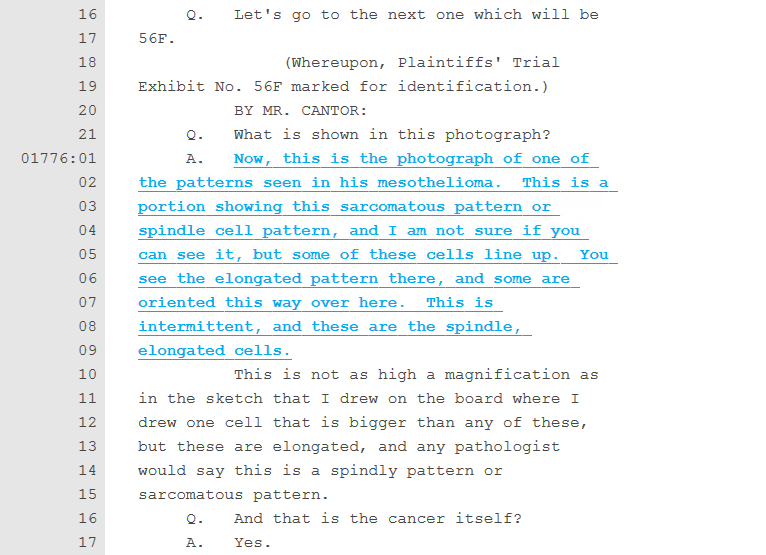
The transcript opens and appears in the work area.
![]()

|
Note: You can double click a transcript to open it. Alternatively, you can open the transcript directly to a referenced item, such as an issue, by expanding the transcript and respective item folders and double clicking on the page and line reference. |
Open a Word Index
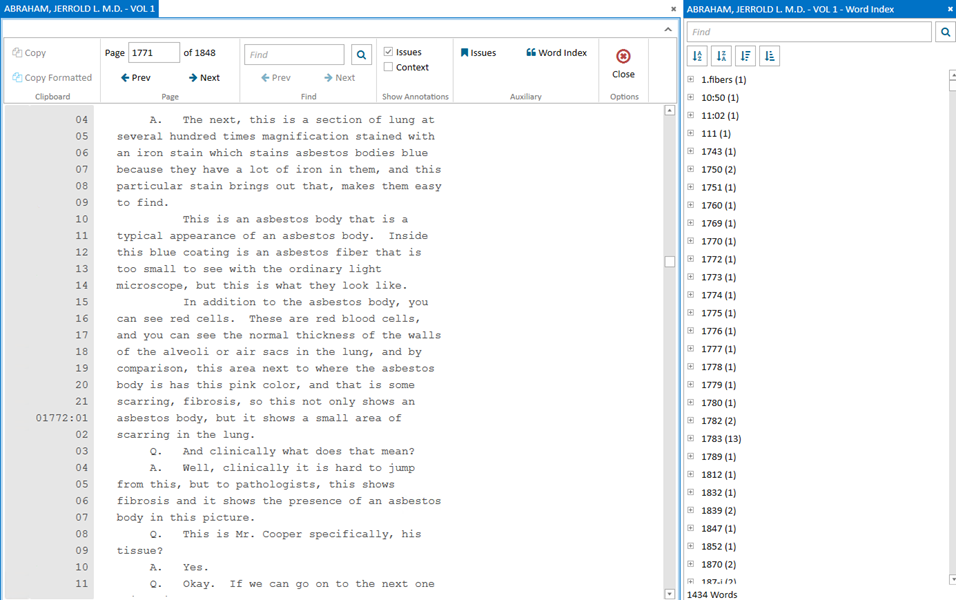
You can open a Word Index to browse all the terms found in an individual transcript, with the exception of a few common stop words (such as "and," "the," "or," etc.) The Word Index also lists the frequency with which these words appear in the transcript, and gives the user the ability to jump to the specific location in the transcript where the words appear.
To open the Word Index, click on the Word Index button in the ribbon bar of the Transcript Work Area.

The Word Index opens to the right of the Transcript Work Area. All applicable words appear in a list, with the number of times they appear in the transcript indicated by a number in parentheses to their right.
To find a term in the Word Index, type it into the search bar and select the browse icon ![]() .
.
To jump to the specific location in the transcript where a word appears, click on the plus icon next to the term you want to find. Page and line references appear under the term.
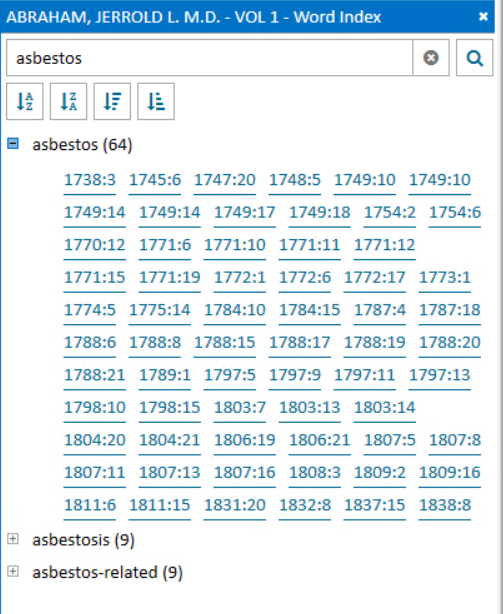
Click on a reference to go to the location in the transcript.
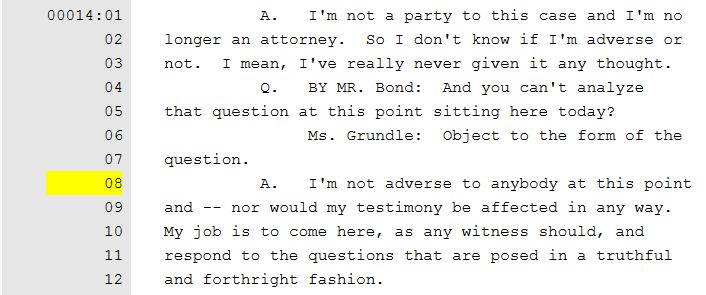
Apply a Quick Mark
To apply a quick mark, open a transcript in Review (see Open a Transcript), and use one of the following steps:
Transcript Text
-
Left click on a point within the transcript in the Transcript Work Area where you want to apply the quick mark.
-
Press the Space bar.
The quick mark is applied to the transcript.
|
|
Note: If you select a point that already has a quick mark associated with that page and line, the quick mark will be removed. |
Transcript Page Line
-
Click on a line in the left margin.
The quick mark is applied to the transcript.
|
|
Note: If you click on an existing quick mark, the quick mark will be removed. |
Open Entry Location
You can open the transcript directly to the page:line reference of a note, issue, quick mark, or other transcript annotation, using the Open Location in Transcript button.
To open directly to the page:line reference of an entry in a transcript, use the following steps:
-
Open the Transcripts Explorer.
-
Expand the Transcripts Explorer items to a page:line reference entry.
-
Right-click on the page:line reference.
-
Click the Open Location in Transcript button.
By default, the Transcripts Explorer tab is found on the left of the window.
The transcripts added to the case appear in a tree view in the explorer.

The right-click context menu appears.
![]()
|
|
Note: Some context menus may contain additional actions or options. |
If the corresponding transcript is not already open, the transcript opens and scrolls to the page:line reference selected.
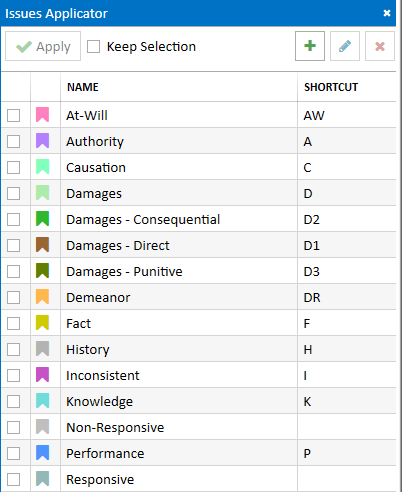
Apply an Issue
You can apply an issue type to selected text in a transcript using the Issues Applicator.
To apply an issue type to page and line references in a transcript, open a transcript in a case (see Open a Transcript) and follow the steps below:
-
Click on Issues in the Auxiliary section of the Transcript Work Area ribbon bar to open the Issues Applicator.

-
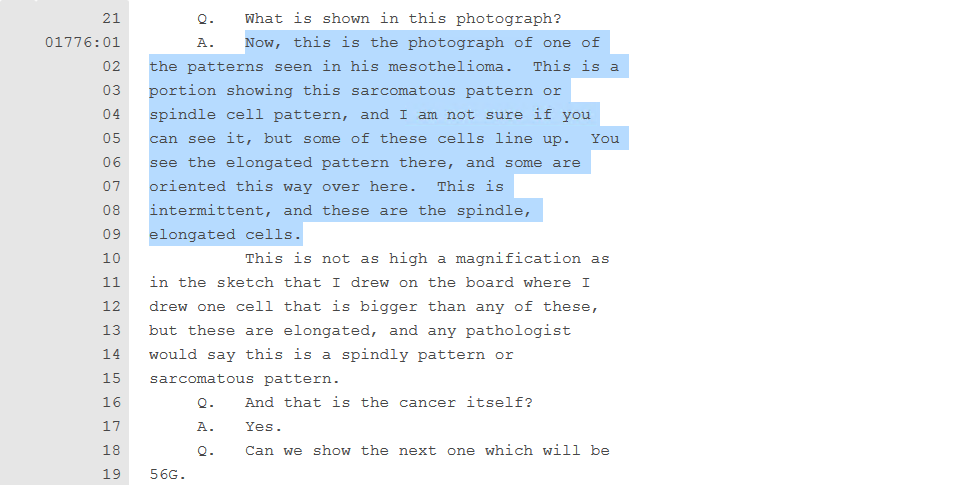
Click and drag to select a page and line range within the transcript.

-
Select an issue in the applicator.
-
Check the box next to the issue type with the mouse

-
Type in the issue type's shortcut keys and press Enter.
-
Apply the selected issue type.
-
Click the Apply button in the applicator

-
Press the hotkey(s) on the keyboard and then press Enter.
The Issues Applicator appears.
You can select an issue type to be applied in one of the following ways:

With the issue type selected, you can move on to the next step.
You can apply the issue type to the selected lines in the transcript in one of the following ways:
The issue type is applied to the selected lines in the transcript.

|
|
Note: Ensure the Issues checkbox in the Show Annotations section of the Transcript Work Area ribbon bar is selected in order to view all issue types applied to the transcript. |
The page and line reference for the issue type appears under the corresponding transcript in the Transcripts Explorer.
![]()
|
|
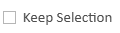
Note: The Issues Applicator contains a Keep Selection checkbox. |
Add a New Issue Type
To add an issue type using the Issues Applicator, open a transcript in a case (see Open a Transcript) and follow the steps below:
-
Open the Issues Applicator in the Auxiliary section of the Transcript Work Area ribbon bar.

-
Click the Add button in the applicator.
-
Fill in the information for the issue.
-
Name - The name to identify the issue.
-
Description - A short phrase to help describe the issue or its purpose.
-
Shortcut - The shortcut keys to apply the issue to a transcript.
-
Tooltip - A short phrase to help describe the issue or its purpose when hovering the cursor over the tag on the transcript.
-
Color - The color assigned to help identify the issue when it appears in a list or a transcript.
-
Click the Save button.
-
Save - Saves the issue, does not close the dialog, and clears the fields so you can create another issue right away.
-
Save & Close - Saves the issue and closes the Add Issue dialog.
The Issues Applicator appears.

The Add Issue dialog appears.
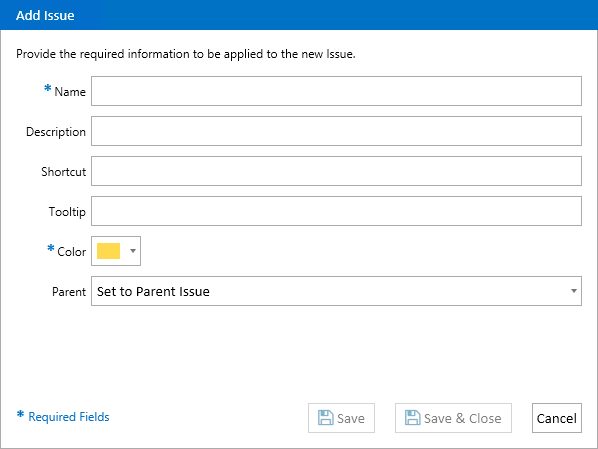
Enter the following information in the Add Issue dialog:
With the information filled in, you can move on to the next step.
There are two save options for your convenience:
When an issue type is added to a case, it appears in the Issues Applicator.
Edit an Issue Type
To edit an issue type using the Issues Applicator, open a transcript in a case and follow the steps below:
-
Open the Issues Applicator in the Auxiliary section of the Transcript Work Area ribbon bar.
-
Click the Edit button in the applicator.

-
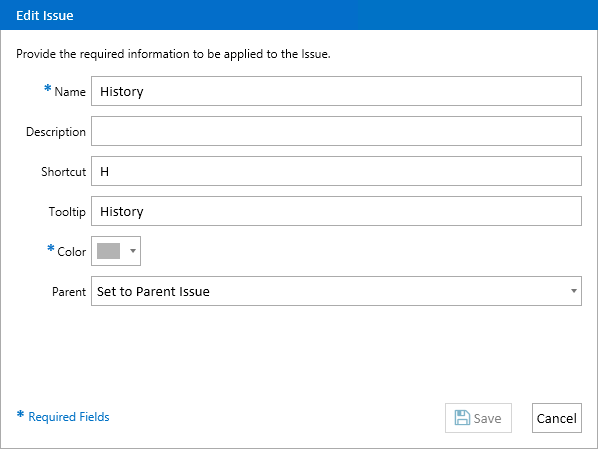
Change the following information in the Edit Issue dialog as needed:
-
Name - The name to identify the issue.
-
Description - A short phrase to help describe the issue or its purpose.
-
Shortcut - The shortcut keys to apply the issue to a transcript.
-
Tooltip - A short phrase to help describe the issue or its purpose when hovering the cursor over the tag on the transcript.
-
Color - The color assigned to help identify the issue when it appears in a list or a transcript.
-
-
Click the Save button. This saves your changes and closes the Edit Issue dialog.
The Issues Applicator appears.
The Edit Issue dialog appears.
With the information filled in, you can move on to the next step.
Remove an Issue Tag from a Transcript
To remove an issue tag from a transcript, open a transcript in a case (see Open a Transcript) and follow the steps below:
-
In the Transcripts Explorer, locate the needed transcript and click the plus icon
to the left of it.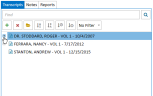
-
Locate the page:line entry that needs to be removed by expanding the Issues folder and the appropriate Issue Tag in the Transcripts Explorer.

-
Right click on the page:line entry. In the context menu that appears, click Remove Item.
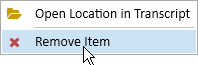
Note: In order for the context menu to display after right clicking on the entry, make sure your cursor is hovering over the text. If your cursor is hovering over a blank space, the menu will not display.
-
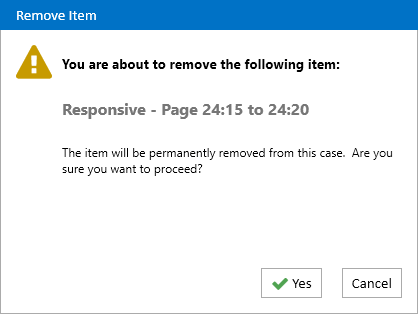
A message will appear asking if you want to proceed with the removal. Once you have removed a tag, you will not be able to recover it. Click Yes if you wish to proceed.

- The tag will be removed and the Transcript Viewer will refresh automatically to display this change. Repeat this process for any tags you wish to remove.
Add, Edit, and Remove Notes
Add a Note
You can apply notes to transcripts using the Add Note dialog.
![]()
To add a note, open a transcript in Review (see Open a Transcript) and follow the steps below:
-
Locate a specific area in the transcript where you want to add the note. Click and drag across that area to select the page and line range within the transcript.
- Right click the highlighted text. In the context menu that appears, select either Copy to Note or Create Note.
- Copy to Note grabs the highlighted text and pastes it into the note field.
- Create Note allows the user to write their own note from scratch.

-
The Add Note dialog appears. Fill in the information for the note.
Fields in the dialog include:
-
Name - The name of the note.
-
Description - A short explanation of the note.
-
Note Type - A selection from the type of notes available. Choose the type you feel appropriate.
-
Note - The actual note you want to apply to the document. If you selected Copy to Note in the previous step, this field should already have the highlighted text populated within it.
With the information filled, you can move on to the next step.
-
- Click the Save button to create the note. The dialog box disappears, and the transcript automatically refreshes to include the change.
Edit a Note
You can edit notes applied to transcripts using the Edit Note dialog.
To edit a note, open a transcript in Review (see Open a Transcript) and follow the steps below:
-
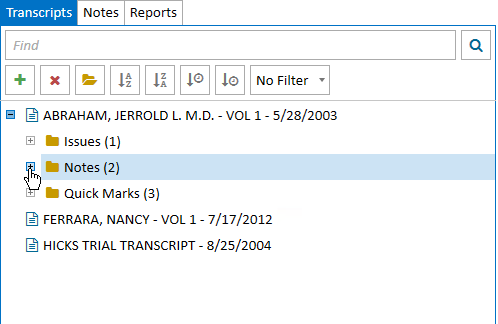
Navigate to the Notes Explorer by clicking the Notes tab on the left side of the Transcript Viewer.

-
Locate the correct note in the explorer based on the transcript name, page number, and line number.

-
Select the appropriate note, then click the edit icon
 in the explorer ribbon bar. Alternatively, you can right click the note, then select Properties from the context menu that appears.
Note: To select the note, hover your cursor over it and click on the descriptive text. If you click on the line that includes the Transcript name, page number, and line number, the note will collapse and will not be selected.
-
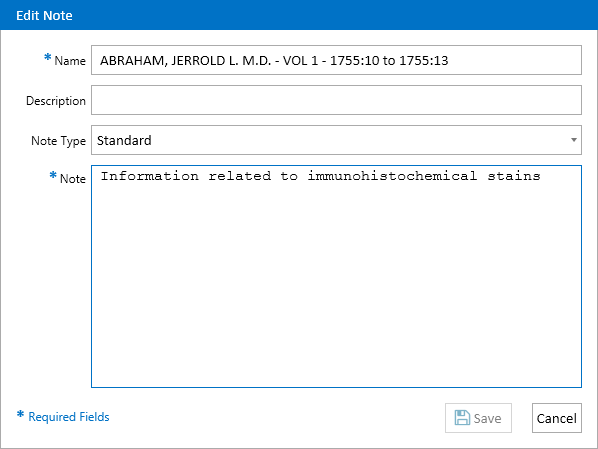
The Edit Note dialog displays. Change the following information as needed:
-
Name - The name of the note.
-
Description - A short explanation of the note.
-
Note Type - A selection from the type of notes available. Choose the type you feel appropriate.
-
Note - The actual note you want to apply to the document.
With the changes made, you can move on to the next step.
-
- Click the Save button to update the note. The dialog box disappears, and the transcript automatically refreshes to include the change.

Remove a Note
There are three different methods for removing notes from a transcript.
-
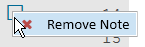
The easiest method for removing a note is to right click on the note icon
 in the Transcript Work Area.
In the Context Menu that displays, click on Remove Note. A message appears with a warning that the note will be permanently deleted. If you wish to proceed, select Yes. The note will be removed, and the transcript will automatically refresh to display the change.
-
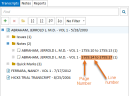
The second method for removing a note from a transcript is to locate the note in the Transcripts Explorer. Find the correct transcript from which the note is to be removed, then click the plus icon
beside its name to expand a tree of all annotations associated with that transcript (such as notes, quick marks, and issues). Next, click the plus icon beside the Notes folder to expand a tree of all notes associated with the transcript, as shown in the image below:
Locate the correct note based on the page and line numbers.
When you have found the correct note, select it, then click the red X icon
 in the explorer ribbon bar.
A message appears with a warning that the note will be permanently deleted. If you wish to proceed, select Yes. The note will be removed, and the transcript will automatically refresh to display the change.
-
The third method for removing a note from a transcript is to locate the note in the Notes Explorer. To access the Notes Explorer, click on the Notes tab on the left side of the Transcript Viewer.
Locate the correct note based on the transcript name, page numbers, and line numbers.
When you have found the correct note, select it, then click the red X icon
in the explorer ribbon bar. Alternatively, you can right click on the note, then select Remove Note in the Context Menu that displays.A message appears with a warning that the note will be permanently deleted. If you wish to proceed, select Yes. The note will be removed, and the transcript will automatically refresh to display the change.

Link to Review Documents or External Files
Add a Link
You can link review documents or external files to specific locations in a transcript.
To add a link, open a transcript in Review (see Open a Transcript) and follow the steps below:
-
Locate a specific area in the transcript where you want to add the link. Click and drag across that area to select the page and line range within the transcript.
-
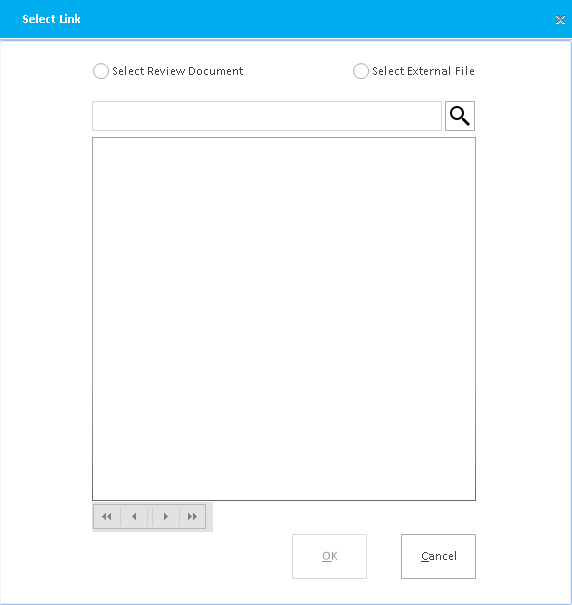
Right click on the selected area, then click Link to document from the context menu. The Select Link dialog box appears.

-
Choose either Select Review Document or Select External File. Review documents are files that have already been uploaded to your case, whereas external files have not been uploaded to your case.
- Choosing the first option will populate all files uploaded to your case in the Group Box below. To locate a specific file in the list, type the file name into the search bar, then click the browse button
 . Select the file in question and click OK. The dialog box disappears, and the transcript automatically refreshes to include the change.
 - Choosing the second option will open the file explorer on your computer. Locate the specific file, select it, and then click Open. The dialog box disappears, and the transcript automatically refreshes to include the change.
- Choosing the first option will populate all files uploaded to your case in the Group Box below. To locate a specific file in the list, type the file name into the search bar, then click the browse button
Remove a Link
To remove a link, open a transcript in Review (see Open a Transcript) and follow the steps below:
-
Find the correct transcript from which the link is to be removed, then click the plus icon
beside its name to expand a tree of all annotations associated with that transcript (such as notes, quick marks, and issues). Next, click the plus icon beside the Exhibits folder to expand a tree of all documents linked to the transcript, as shown in the image below: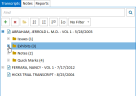
-
Locate the correct link. Select it, then click the red X icon
in the explorer ribbon bar.
- A message appears with a warning that the item will be permanently deleted. If you wish to proceed, select Yes. The note will be removed, and the transcript will automatically refresh to display the change.


Related Topics
Version: 2019.3.0
Last Modified: December 2, 2019