|
|
Important: You are reviewing the Ipro for desktop 3.0 Help. To view the latest release of Ipro for desktop Help, click here. |

Print a Document
You can print documents from the Documents Explorer, Document Work Area, and Workbooks Explorer.
Documents Explorer
To print a document from the Documents Explorer, follow the steps below:
-
From the dashboard, click the TrialDirector 360 module.

-
Click the EVIDENCE tab in the left navigation panel.

-
Open the needed case by double-clicking the case name in the Cases table. Alternatively, you can select the appropriate case name, then click the Open Case button in the ribbon bar above the table.

-
Open the Documents Explorer by selecting the Documents tab in the top-left corner of the page.
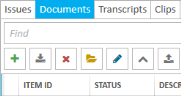
If the explorer is hidden, you can use the Explorers dropdown in the main menu to view it.

-
Select a document in the Documents Explorer.
-
Right click on the selected document.
-
Click the Print Items button.
-
Click Next.
- Select the Print Range.
-
Click Next.
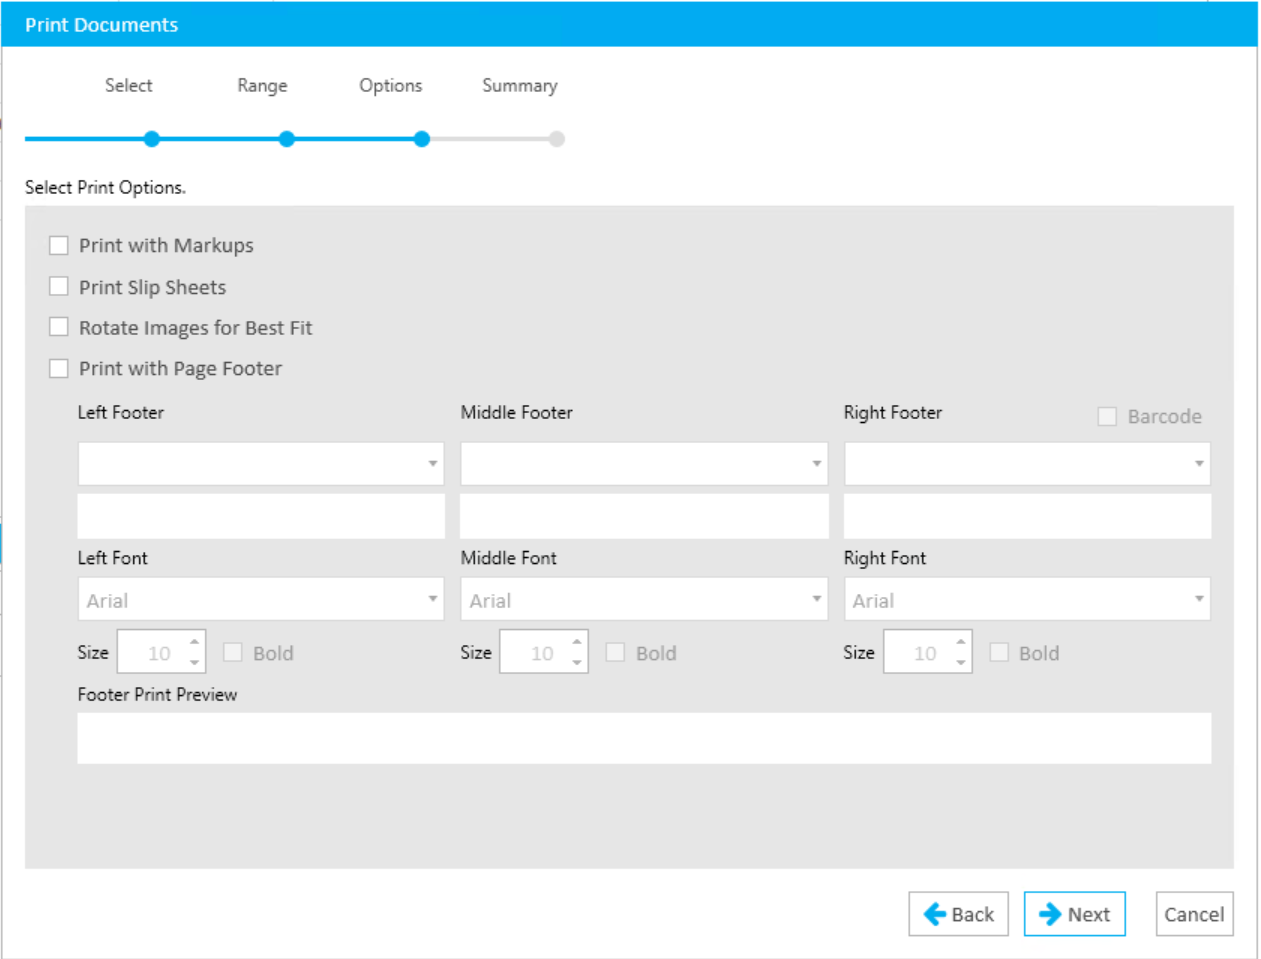
- Select the Print Options.
-
Click Next.
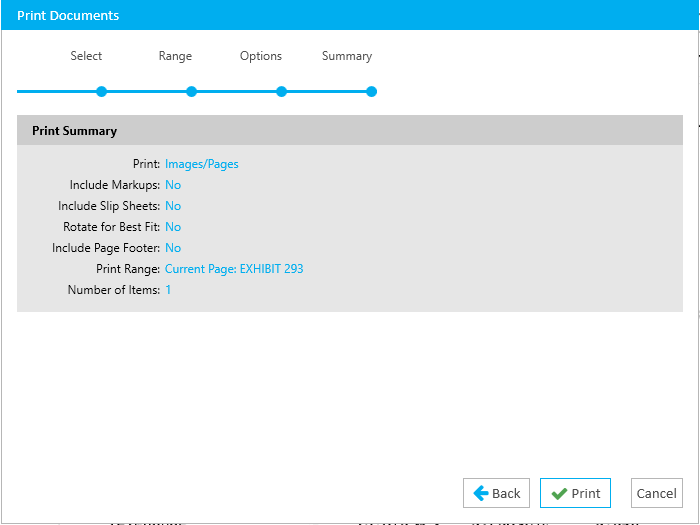
- Review the Print Summary.
-
Click Print.
-
Select system options and click the Print icon button
 .
.


The context menu appears.


|
Press CTRL+P to launch the Print Documents wizard. |
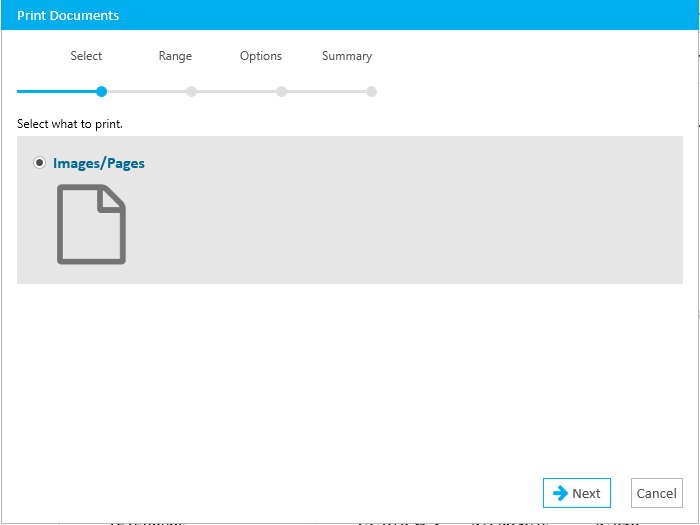
The Print Documents wizard appears.

|
|
Note: When the Print with Page Footer option is checked, any barcodes that are included in the footer will be subject to barcode technology standards. It is recommended for a barcode to be read reliably that the Page Id is between 6 and 12 characters in length and does not contain extended characters. |
The System Print dialog appears.
Documents Work Area
To print a document from the Document Work Area, follow the steps below:
-
From the dashboard, click the TrialDirector 360 module.
-
Click the EVIDENCE tab in the left navigation panel.
-
Open the needed case by double-clicking the case name in the Cases table. Alternatively, you can select the appropriate case name, then click the Open Case button in the ribbon bar above the table.
-
Open the Documents Explorer by selecting the Documents tab in the top-left corner of the page.
If the explorer is hidden, you can use the Explorers dropdown in the main menu to view it.
-
In the Documents Explorer, locate the needed document. Open the Document Work Area by double-clicking on the appropriate document, or by selecting it and clicking the Open Item button in the Explorer ribbon bar.

The Document Work Area opens.
- Click Print Page in the Document Work Area ribbon bar.

The Print Document Wizard appears. Follow the steps outlined above.
|
|
Note: Press CTRL+P to launch the Print Documents wizard. |
Workbooks Explorer
To print a document from the Workbooks Explorer, follow the steps below:
-
From the dashboard, click the TrialDirector 360 module.
-
Click the EVIDENCE tab in the left navigation panel.
-
Open the needed case by double-clicking the case name in the Cases table. Alternatively, you can select the appropriate case name, then click the Open Case button in the ribbon bar above the table.
-
Open the Workbooks Explorer.
-
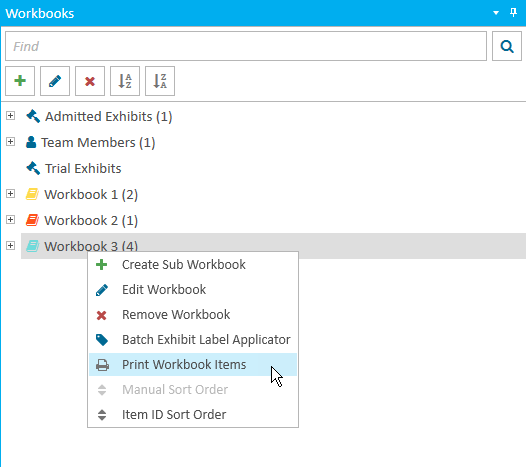
Right click on the selected workbook.
- Select Print Workbook Items.
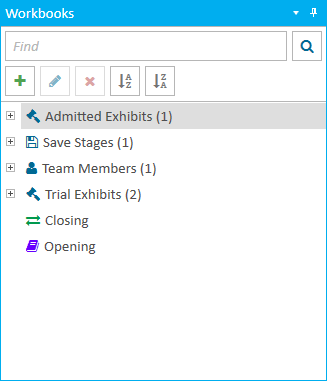
If the explorer is hidden, you can use the Explorers dropdown in the main menu to view it.

The context menu appears.
|
|
Press CTRL+P to launch the Print Documents wizard. |
The Print Document Wizard appears. Follow the steps outlined above.
Related Topics
Version: 2019.3.0
Last Modified: December 2, 2019