|
|
Important: You are reviewing the Ipro for desktop 3.0 Help. To view the latest release of Ipro for desktop Help, click here. |

Add a Group
You can add a group on the Groups page in the Case Management module. To add a new group, review the instructions below.
Add a Group on the Groups Page
You must be a Super Administrator to create groups. To add a new group in Case Management:
-
Start Case Management and log in as a Super Administrator.

-
In the navigation panel, click the Groups tab.
-
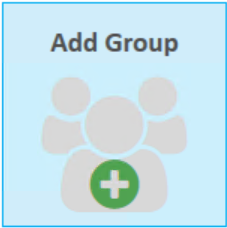
Click the Add Group button above the user's table. The Add Group dialog will appear.

-
In the Group Info tab, enter a unique group name (60 characters maximum), plus a description if desired. Descriptions can be up to 75 characters.
When finished, click Next.
-
In the Role/Privileges tab, change the default role and privileges for the new group. See Control System Access Using Groups, Users, Roles, and Privileges for more information on roles and privileges.
When finished, click Next.
-
In the Case Assignments tab, cases are organized by client. Select the case(s) you would like to assign to the new group, and click Next when finished.
-
In the Membership tab, select any users you would like to assign to the group. User names are organized alphabetically.
When finished, click Next.
- Review the Summary of the new group's information. If necessary, click the Back button to navigate to the appropriate step and make any necessary changes.
-
Confirm that all user information is correct, then click Create to create the new group.
- If adding another group, click Add New Group on the Confirmation step.
-
Repeat steps 4 - 10 for all groups being added at this time. Groups are initially added with a Standard Group role, which does not include any privileges. Users will have their privileges assigned to them as users, unless the Group role is changed, or Group privileges are added manually.
-
If needed, inform users that they are now part of a group(s).

Related pages:
Version: 2019.3.0
Last Modified: December 2, 2019