Link an Exhibit to a Transcript
You can link exhibits directly to a transcript using the Transcripts Explorer or the Transcript Work Area. Linking an exhibit to a transcript makes that exhibit easier to find and provides the option of having it appear automatically when playing the synchronized video in court.
You can link an exhibit using the right-click context menu in the Transcripts Explorer or the Transcript Work Area.
Link an Exhibit via the Transcripts Explorer
To link an exhibit to a transcript from the Transcripts Explorer, use the steps below:
-
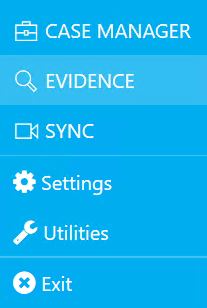
Click the EVIDENCE tab in the left navigation panel.

-
Open the needed case by double-clicking the case name in the Cases table. Alternatively, you can select the appropriate case name, then click the Open Case button in the ribbon bar above the table.

-
Open the Transcripts Explorer.
If the Transcripts Explorer is not visible, you can open it using the Explorers dropdown in the TRIAL DIRECTOR EVIDENCE Main Menu.

Click the drop-down arrow and then click Transcripts.
By default, the Transcripts Explorer tab is found on the left of the window.
-
Right-click a transcript from the list.
-
In the context menu that appears, click Add Linked Exhibit.
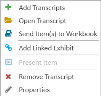
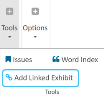
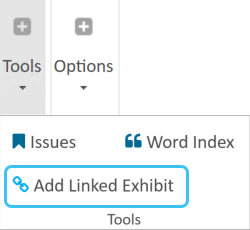
Alternatively, you can select Add Linked Exhibit in the Tools section of the transcript ribbon bar.
-
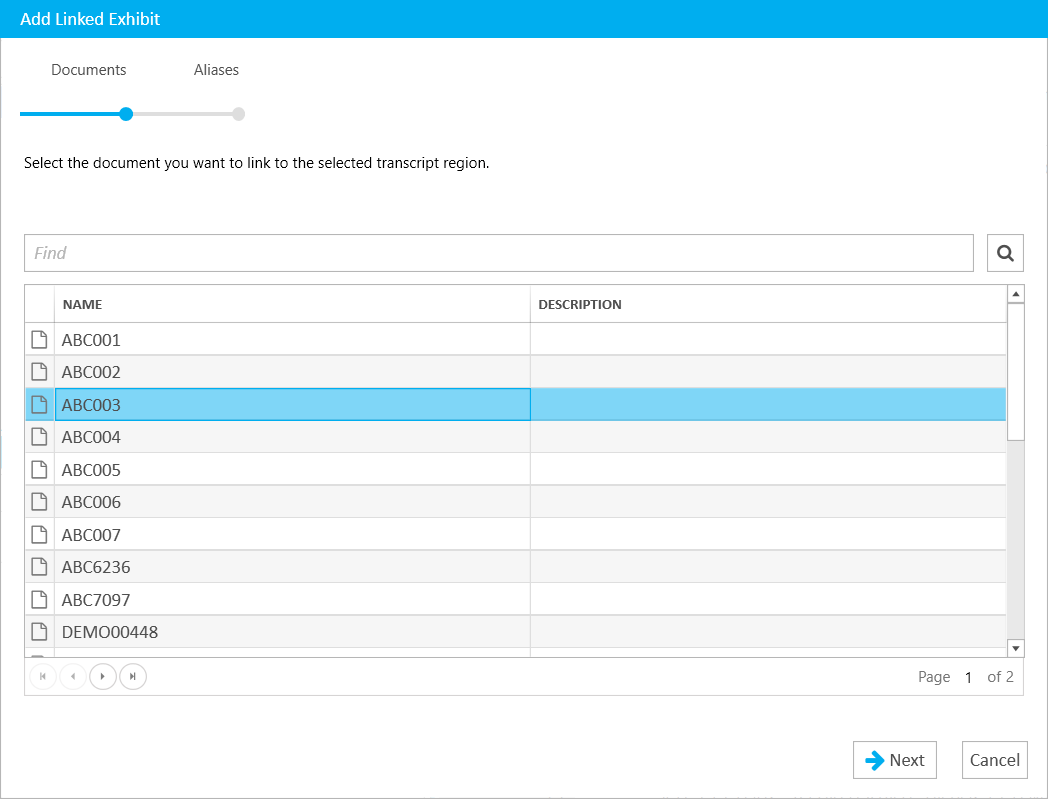
The first step of the Add Linked Exhibit wizard opens. Here you can select a document that has already been added to the case. Select the document, then click the Next button.

Note: From this wizard you can only link to a document that has already been added to the case. To link to a new document, use the right-click context menu in the Transcript Work Area, as detailed in the section below. See Link an Exhibit via the Transcript Work Area.
-
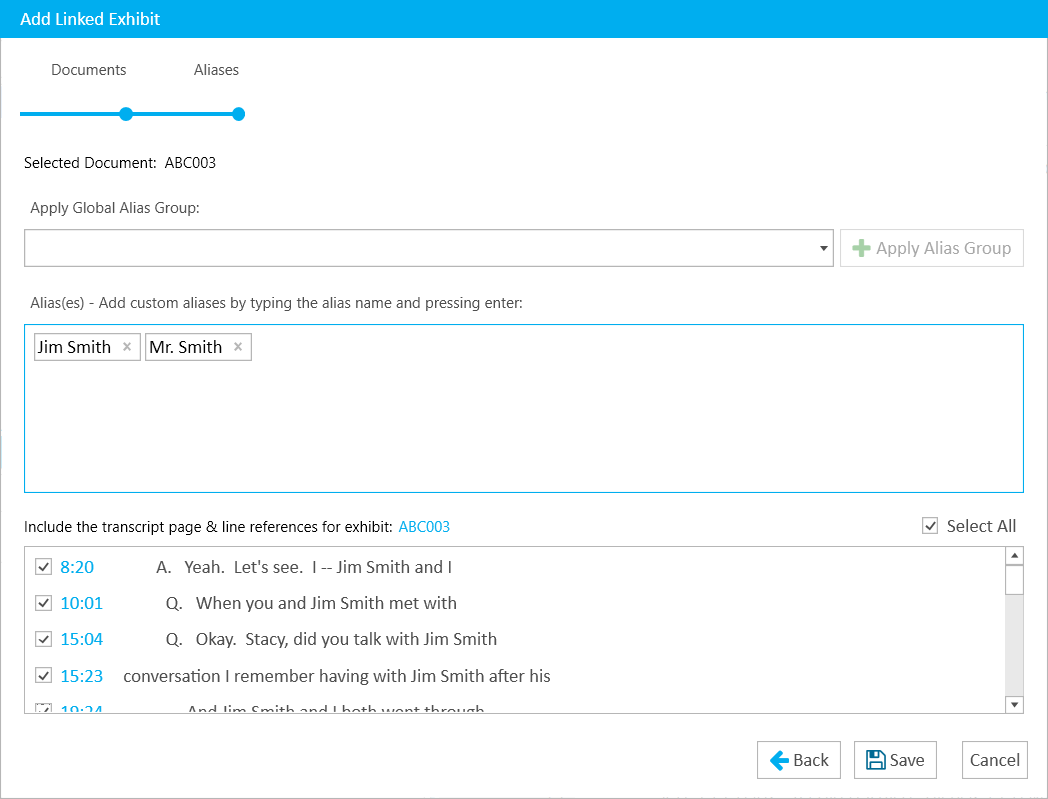
The second step of the Add Linked Exhibit wizard opens. Here you can define an alias, or multiple aliases, which allow you to link the document to one or more locations in the transcript simultaneously. An alias is simply a specific word or phrase that lets you link to every occurrence of that same word or phrase appearing in the transcript. You can link the document to every instance of that word or phrase, or can you choose to link the document to only select instances. For example, if the term "Exhibit 243" appears in multiple places in a transcript, you can link to each instance of the term, or specific instances, by means of an alias.
Proceed with the following steps to define an alias, or multiple aliases, for linking the document to the transcript.
-
Apply Global Alias Group: If you have already created alias groups in TRIAL DIRECTOR, you can save time defining custom aliases in the next step by applying the terms included in that group. For more information on how to create an alias group, see Add Alias Group.
To apply an alias group:
- Select the needed alias group from the dropdown.
- Click Apply Alias Group. The terms associated with that group populate in the Aliases box.
- To apply additional alias groups, repeat the steps above. You can also define custom aliases in addition to those associated with a group, as described in the next step.
-
To add custom aliases, type the word or phrase into the Alias(es) box, then hit Enter. A rectangular border appears around the alias to show that the term has been entered. All instances of that alias in the transcript appear in the box below. Add additional aliases as needed, or remove unnecessary aliases by clicking the x next to their name.
Note: When adding aliases, ensure that the word or phrase is typed out fully. TRIAL DIRECTOR searches the transcript for the exact phrase; however, capitalization does not affect the search results.

-
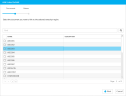
Select where in the transcript you would like to link the document. Every appearance of the alias, throughout the transcript, displays with its page and line reference number. To link the document to a specific instance, ensure that the corresponding check box is selected. To avoid linking to a specific instance, ensure that the appropriate check box is deselected.

Tip: To quickly select all instances, click the Select All check box if it is not already checked. You can also clear all selections by clearing that check box.
- When all needed instances have been selected, click Save. The document is linked to the transcript in each location specified.
![]()
Link an Exhibit via the Transcript Work Area
To link an exhibit to a transcript from the Transcript Work Area, use the steps below:
-
Click the EVIDENCE tab in the left navigation panel.
-
Open the needed case by double-clicking the case name in the Cases table. Alternatively, you can select the appropriate case name, then click the Open Case button in the ribbon bar above the table.
-
Open the Transcripts Explorer.
If the Transcripts Explorer is not visible, you can open it using the Explorers dropdown in the TRIAL DIRECTOR EVIDENCE Main Menu.
Click the drop-down arrow and then click Transcripts.
By default, the Transcripts Explorer tab is found on the left of the window.
-
Select a transcript from the list.
-
Click the Open button in the ribbon bar in the Transcripts Explorer.

The transcript opens and appears in the work area.

-
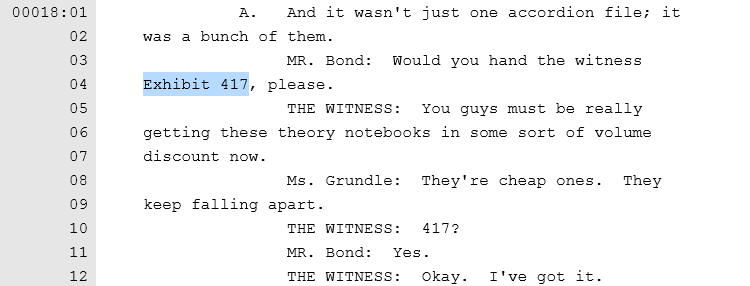
Select the text in the transcript where you want the exhibit to be linked.
-
Right-click on the selected text.
-
Click either the Add Linked Exhibit button, or the Link to New Document button.
- Add Linked Exhibit - Opens the Add Linked Exhibit wizard where you can select a document that has already been added to the case. Select the document, then click the Next button. On the second step of the wizard, define an alias, or multiple aliases, and select locations in the transcript where you would like to link the document. For more instructions on how to complete this step of the wizard, see Link an Exhibit via the Transcripts Explorer.
-
Link to New Document - Opens the Link to New Document dialog where you can enter the path to the document you want from your local file system. You can use the Browse button to open the local file explorer to find the document if you do not already know the file path. Once the file path is entered, click the Save button in the dialog, and the document is added to the transcript as a link to the selected text.

![]()

|
|
Note: When you link an exhibit to a transcript on the web, a yellow link indicates the link is still processing and a red link indicates an error occurred during the link process. |
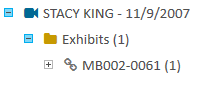
Exhibits you link to a transcript can be easily found under that transcript in the Transcripts Explorer as seen below.
|
|
Note: Synchronized Exhibits do not appear in the Exhibits folder located under each transcript in the Transcripts Explorer. They only appear as icons in the Transcript Work Area. See Attach a Synchronized Exhibit to a Transcript for more information. |
Open a Linked Exhibit
After you finish linking the exhibit using the steps above, click on the link in the transcript to open and view the exhibit. Or, right click on the exhibit and click the Open linked exhibit button in the right-click context menu.
You may also open the linked exhibit from the Transcripts Explorer. To do so, follow the steps below:
-
In the Transcripts Explorer, locate the transcript that contains the linked exhibit.
-
Expand the transcript, and the Exhibits folder underneath it, by selecting the
 button beside their names.
-
Locate the needed exhibit, then right-click on it and select Open in Document Work Area.
Remove a Linked Exhibit from a Transcript
To remove a link to an exhibit inside the transcript, simply right-click on the link and click the Remove linked exhibit button in the right-click context menu.
You may also remove the linked exhibit from the Transcripts Explorer. To do so, follow the steps below:
-
In the Transcripts Explorer, locate the transcript that contains the linked exhibit.
-
Expand the transcript, and the Exhibits folder underneath it, by selecting the
button beside their names.
-
Locate the needed exhibit, select it, and click the Remove Item button in the explorer ribbon bar.

Note: To remove multiple linked exhibits, select a contiguous set with Shift + click, or a non-contiguous set with Ctrl + click. When all items are selected, right-click on one of the selected items, and choose Remove Item from the context menu. Click Yes on the warning message that displays.
- A message displays asking if you would like to proceed with the permanent removal. If so, select Yes.
Related Topics
Version: 2023.8.12
Last Revision: 11/8/2023