Apply Annotations to a Patent
You can manipulate and annotate a patent using the Annotations panel.

To open the Annotations panel, open a document and click the Annotations button in the ribbon bar above the open document.

The following actions are available for you to manipulate the document:
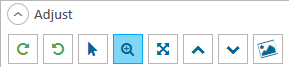
Adjust
|
Action |
Definition |
||
|
Rotate Clockwise/ Counterclockwise |
The Rotate CW button rotates the document in the work area 90 degrees clockwise. The Rotate CCW button rotates the document in the work area 90 degrees counterclockwise.
|
||
|
Select |
Sets the area note annotations to be selectable. See the Area Note entry in the Annotations section below for more information on area notes.
|
||
|
Zoom |
Enlarges the document in the work area for closer view.
|
||
|
100% |
Sets the view of the document in the work area so that the entire document is viewable.
|
||
|
Align Top/Bottom |
The Align Top button focuses the view of the document in the work area on the top half of the document. The Align Bottom button focuses the view of the document in the work area on the bottom half of the document.
|
||
|
Deskew |
The Deskew button allows you to adjust the positioning of the whole image on the document "canvas". Click the Deskew button, then click and drag on the document to adjust the positioning.
|


Annotations

|
Note: When you hover your mouse over an annotation tool, a message displays the shortcut key associated with the annotation tool. For example, when you hover over the Redactions tool, a message appears indicating the shortcut key for the Redactions tool is ALT+Y. To use the Redactions tool you can either click the Redactions annotation button or press ALT+Y on your keyboard. |

|
Action |
Definition |
||
|
Save |
Saves any markups made on the document or page.
|
||
|
Save as Revision |
Saves any markups made on the document or page as a revision to the document or page. The new revision page appears under the corresponding document or page in the Documents Explorer.
|
||
|
Save and Present |
Saves any markups made on the document or page and shows the document or page in Presentation.
|
||
|
Edit Annotations |
Highlights any annotations already applied to the document. The annotations can be moved, removed, or resized.
|
||
|
Area Note |
An area note is a note that is associated with an issue. To add an area note to a document or page follow the steps below:
Click and drag on the document or page in the work area. You can see the area note region expand as you drag. Once you release the click, the area note icon is applied to the top left of the selected region and the add area note dialog appears. Fields in the dialog include: With the information filled, you can move on to the next step.
|
||
|
Redactions |
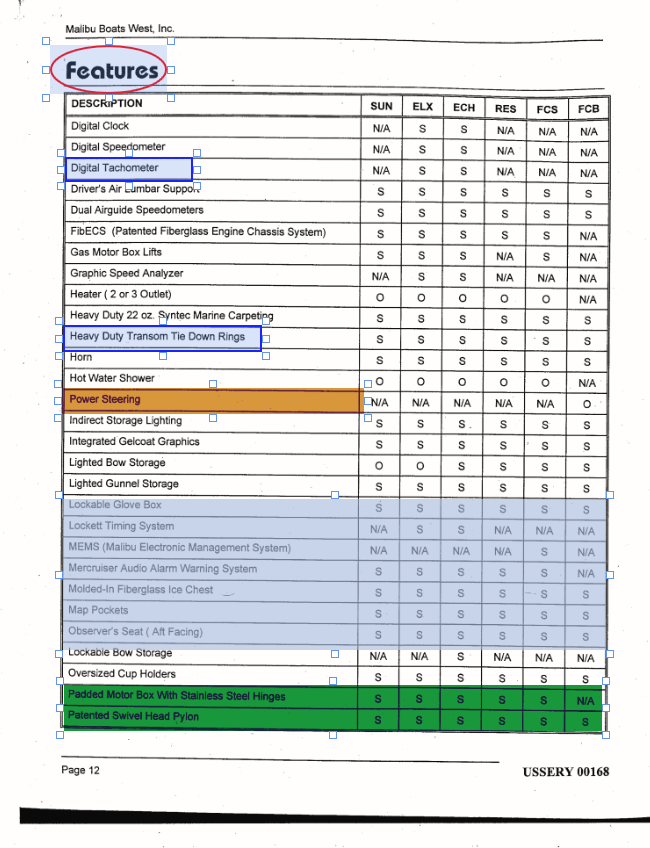
Redactions are used to block out portions of the document. Select the redaction button, then click and drag on the document to block out the desired portion.
The following options can be selected to apply to the redaction:
|
||
|
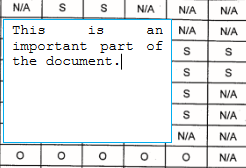
Annotations |
Annotations are markings that can be used to call attention to specific parts of a document or page. To apply an annotation, select the annotation you want, then click and drag on the document or page in the work area. You can see the annotation expand as you drag. Once you release the click, the annotation is applied to the document or page.
The following annotations are available:
|
||
|
Colors |
The selected color determines the color of the next annotation you apply to the document or page. |
||
|
Line Thickness |
The selected number determines the thickness of the next annotation you apply to the document or page. |
||
|
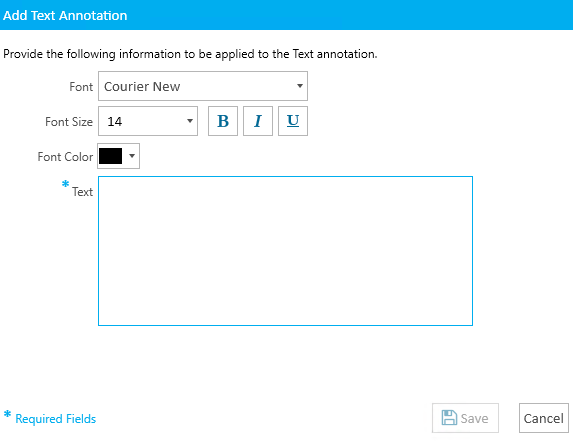
Text |
When you select this tool, you can then click and drag on the document to create a text box.
Once you release the click, the Add Text Annotation dialog appears. You can add text and select font characteristics for the text.
|
||
|
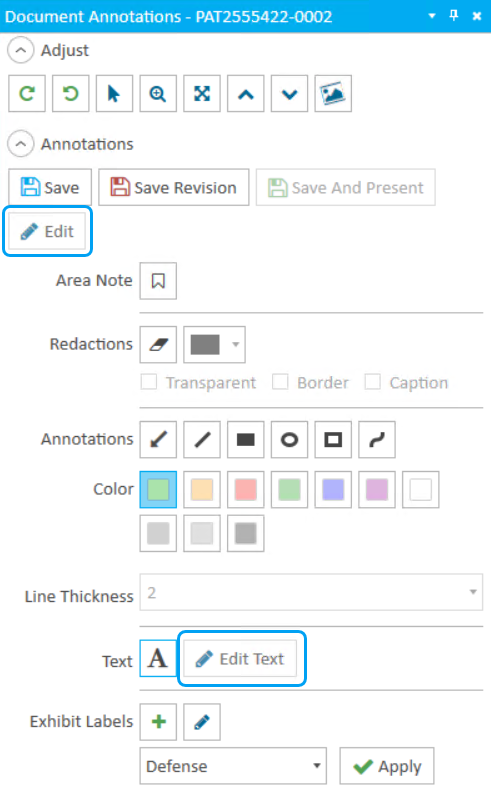
Edit Text |
This option allows you to edit text annotations. To edit text annotations, click the main Edit button at the top of the Document Annotations pane. Next, click the Edit Text button to edit text in a text box.
|
||
|
Font Styles |
|
||
|
Exhibit Labels |
You can choose the appropriate label option from the dropdown.
Choose a label from the dropdown and click the Apply button. A label appears on the document.
|


Related Topics
Version: 2023.8.12
Last Revision: 11/8/2023