Overview: Clips
Using TRIAL DIRECTOR EVIDENCE, you can manage the clips in a case.
Open the Clips Explorer
To open the Clips Explorer and begin work on managing your clips, follow the instructions below:
-
Click the EVIDENCE tab in the left navigation panel.

-
Open the needed case by double-clicking the case name in the Cases table. Alternatively, you can select the appropriate case name, then click the Open Case button in the ribbon bar above the table.

-
Open the Clips Explorer.
If the Clips Explorer is not visible, you can open it using the Explorers dropdown in the TRIAL DIRECTOR EVIDENCE Main Menu.

Click the drop-down arrow and then click Clips. The Clips Explorer displays.


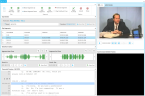
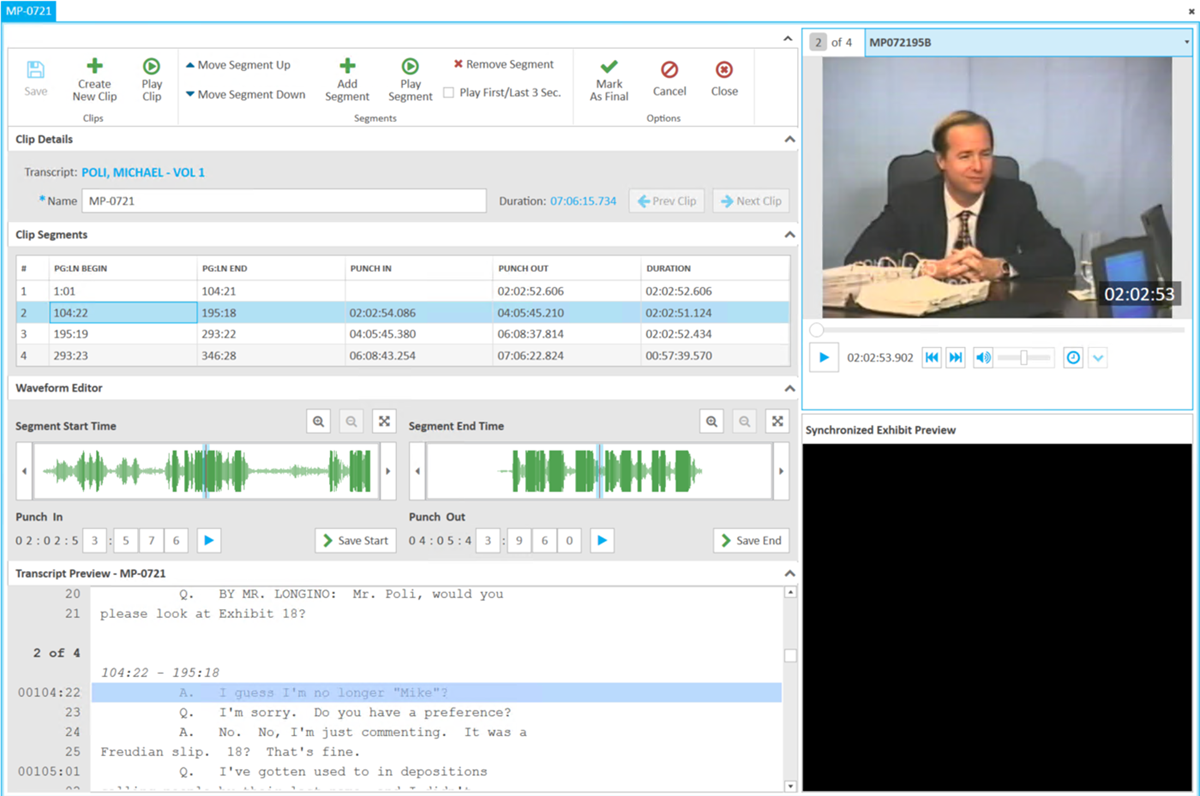
Open the Clips Work Area
The Clips Work Area allows you to work with a specific clip, adding, adjusting, or removing segments, as well as marking a clip as final. To open the Clips Work Area:
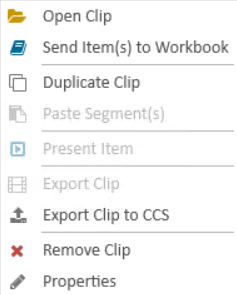
- From the Clips Explorer, right-click on the name of the clip you would like to work on.
-
The right-click context menu appears. Select Open Clip.

The work area opens.

Tip: Alternatively, you can open the Clips Work Area by:
-
Double-clicking on the name of the clip in the explorer.
-
Expanding the clip in the explorer using the
 button and double-clicking on a specific clip segment.
 -
Selecting the name of the clip, then clicking the Open Item button in the Clips Explorer ribbon bar.

-
Related Topics
Add a Segment to an Existing Clip
Duplicate Clips and Clip Segments
Create a Clip from the Multimedia Player
Version: 2023.8.12
Last Revision: 11/8/2023