Create an Exhibit Listing Report
You can create a report of the exhibits in your case using the Reports Explorer.
To create an Exhibit Listing Report, follow the steps below:
-
From the dashboard, click the Presentation module.

-
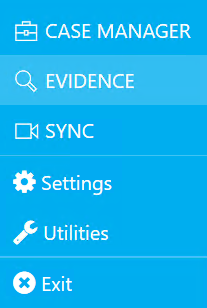
Click the EVIDENCE tab in the left navigation panel.

-
Open the needed case by double-clicking the case name in the Cases table. Alternatively, you can select the appropriate case name, then click the Open Case button in the ribbon bar above the table.

-
Open the Reports Explorer.
If the Reports Explorer is not visible, you can open it using the Explorers drop-down in the TRIAL DIRECTOR EVIDENCE Main Menu.

Click the drop-down arrow and then click Reports.
-
Select the Exhibit Listing item in the explorer.

-
Click the Run Selected Report button in the explorer ribbon bar.
-
Ensure the selected options for the report are correct.
-
Click Next.
-
Click the Preview button.
-
Navigate between pages in the report

-
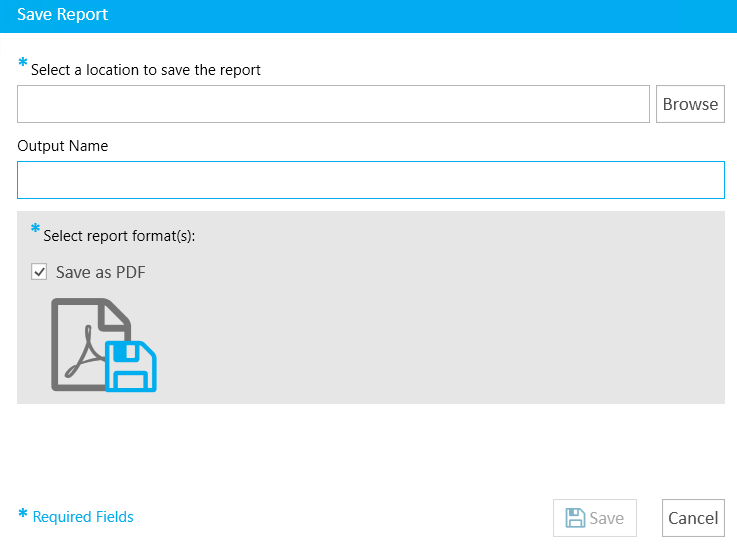
Save the report as a different file type

-
Close the report


The Exhibit Listing Report wizard appears.


|
Note: See the table below for information on all of the report options. |
Continue to select options and click the Next button in the wizard until you arrive at the Summary page.
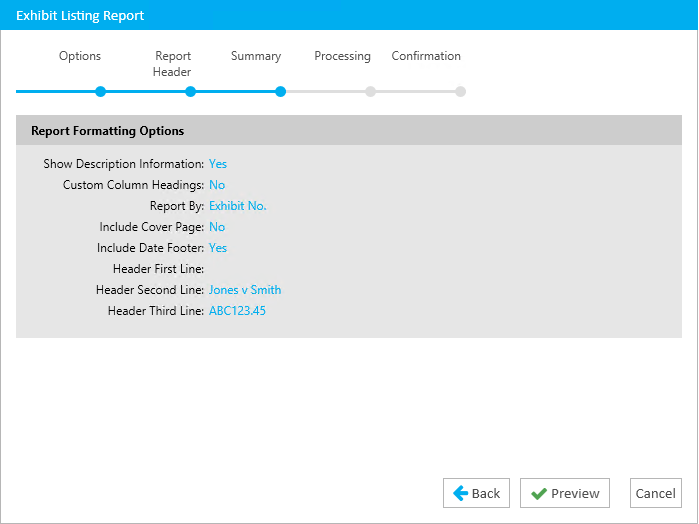
On the Summary page, you can review the options you selected for the report and click the Back button if you need to make any changes.
The report is generated and appears in the Report Work Area.

You can use the options in the Report Work Area ribbon bar to perform any of the following actions:
Report Options
The Exhibit Listing Report contains the following customization options:
|
Option |
Definition |
|
Show Description Information |
If this option is selected, the report will include the exhibit description for each exhibit. |
|
Custom Column Headings |
If this option is selected, the following column header fields become active and you can change them to whatever you want:
If the fields are left blank, the column headings in the generated report will also be blank. |
|
Report By |
You can choose to organize the report by the following options:
|
|
Include |
You can choose to include the following items as part of the report:
|
Report Header
You can fill in or change any of the following fields of the report header in the Report Header step of the Exhibit Listing Report wizard:
-
First Line
-
Second Line
-
Third Line
Any changes will appear in the header of the generated report after completing all the steps in the wizard.
Related Topics
Version: 2023.8.12
Last Revision: 11/8/2023