Export Clips from the Clips Explorer
You can export an audio/video file from TRIAL DIRECTOR. Once exported, you can send the file to other team members or opposing counsel via email or other file sharing services.
In the Clips Explorer, you can export:
-
A single clip
-
Multiple clips
-
Multiple clips combined into a single clip
To export a clip, follow the instructions below:
-
From the dashboard, click the Presentation module.

-
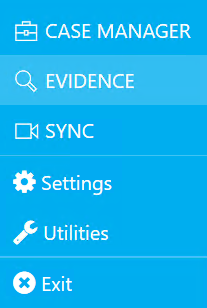
Click the EVIDENCE tab in the left navigation panel.

-
Open the needed case by double-clicking the case name in the Cases table. Alternatively, you can select the appropriate case name, then click the Open Case button in the ribbon bar above the table.

-
Open the Clips Explorer.
If the Clips Explorer is not visible, you can open it using the Explorers dropdown in the TRIAL DIRECTOR EVIDENCE Main Menu.

Click the drop-down arrow and then click Clips.
-
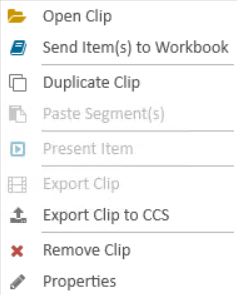
Right-click on a clip and select Export Clip.
-
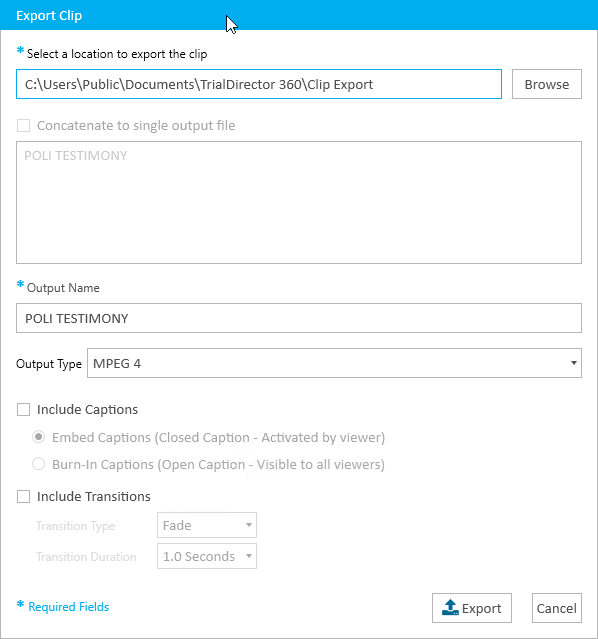
Select a location, name, and output type for the exported clip.
-
MPEG 4: The MPEG-4 output is based on the source file (resolution and bitrate)
-
TRIAL DIRECTOR for iPad (high resolution): 1920 x 1080 pixels
-
TRIAL DIRECTOR for iPad (standard resolution): 352 x 240 pixels
-
MP3 - if the source is an audio-only file

Note: If the clip you're exporting is audio only, the option to include captions appears grayed out.
-
If multiple clips are selected and you want to combine them into a single clip upon export, click the Concatenate to Single Output File check box.
-
To export the clip with captions, select the Include Captions check box. Then select one of the following options:
Note: If the clip contains redactions, the captions for the clip are likewise redacted.
-
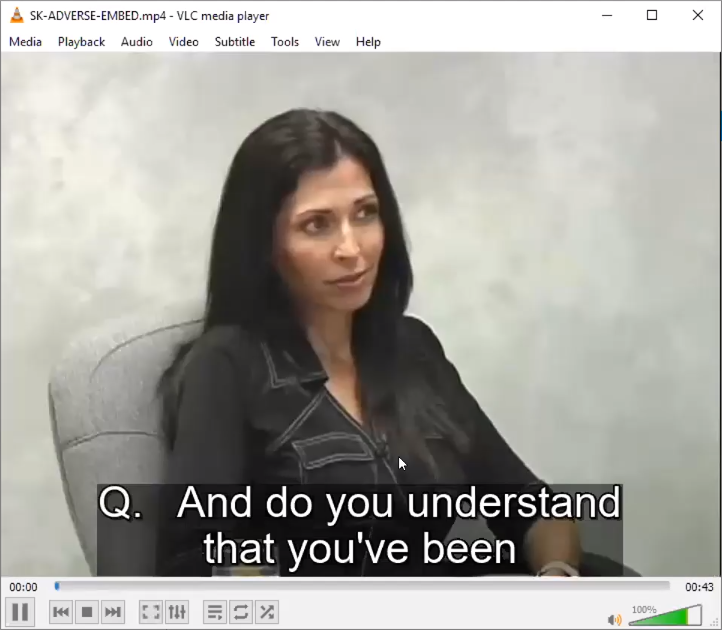
Embed Captions - If this option is selected, captions are exported with the clip and are capable of being toggled on or off in the media player. This option allows you to choose whether or not captions display while playing a clip. It is recommended you use VLC as your media player if choosing this option, as Windows Media Player and Movies & TV are not supported. If you would like to use Windows Media Player or Movies & TV, you can choose the Burn-In option instead. For an example of a clip with embedded captions, click the image below.

-
Burn-In Captions - If this option is selected, captions are "burnt" into the video and therefore are viewable to all users by default, regardless of the media player chosen. These captions cannot be turned on or off, but rather always display when the clip is played. Captions are burnt into a separate area beneath the clip, to avoid blocking any part of the deposition. For an example of a clip with burnt in captions, click the image below.

-
-
To export the clip with transitions, select the Include Transitions check box. Then complete the following:
Note: If captions are enabled, the Include Transitions check box becomes disabled.
Note: This option only applies when exporting a DVT clip.
-
Select the Transition Type:
-
Fade - If this option is selected, the beginning and the end of the selected clip, as well as each clip segment, transitions with a black fade effect.
-
Wipe - If this option is selected, the beginning and the end of the selected clip, as well as each clip segment, transitions with a wipe effect.
-
-
Select the Transition Duration from the dropdown menu. Options include 0.5, 1.0, 1.5, and 2.0 seconds.
-
- Click the Export button.
-
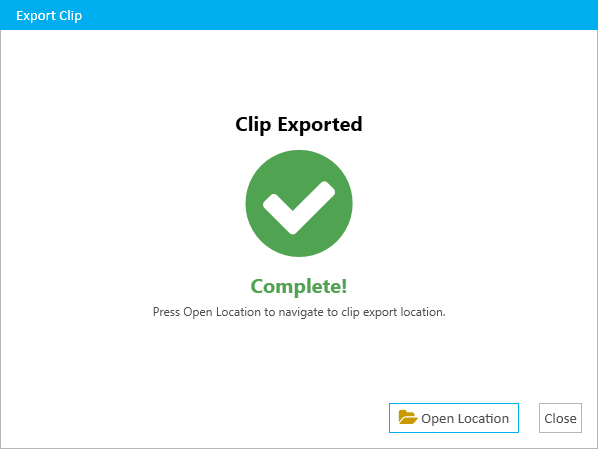
Click Open Location to navigate to the clip export location.


The Export Clip wizard appears.
The supported output types include:

The clip is generated.

Related Topics
Version: 2023.8.12
Last Revision: 11/8/2023