Workflow: Update TRIAL DIRECTOR
Applies To: Upgrades to TRIAL DIRECTOR. If this is the first time you are installing TRIAL DIRECTOR, see Workflow: Install TRIAL DIRECTOR
In this article
This article contains high-level procedures involved with upgrading to the latest version of TRIAL DIRECTOR. There are two possible methods for upgrading to the latest version:
-
Within the application, by means of the Flag icon.
- From the Web Portal, by downloading and installing the LOCAL DISCOVERY Client.
The instructions in this workflow topic exam the steps taken to complete the upgrade using either method.
|
|
For Updates:
|

Review the Prerequisites
The following table shows the prerequisites that must be in place before you start:
|
Task |
Notes |
|---|---|
|
Ensure Local Admin Rights are Set |
In order to install TRIAL DIRECTOR, the user completing the installation must have local administrative privileges on the machine where the installation is taking place. If the user attempts to install without having local admin privileges, the installation will fail. |
|
Address Local and Network Security |
In addition to installing with elevated Administrator privileges, users need to temporarily disable all security or antivirus prior to beginning the installation process. Some environments may require complete uninstallation of security. Security can be reinstalled, reenabled, and configured after install. Failure to follow the above steps may force a complete uninstall and reinstall. |
Upgrade from Within the App
You can upgrade to the latest version of TRIAL DIRECTOR within the app itself. If an update is available, the Flag icon in the top-right corner of the screen turns white. To complete the update, follow the steps described below:
-
While signed in to TRIAL DIRECTOR, click the Flag icon in the top-right corner of the screen.

-
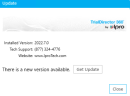
The Update dialog displays. This dialog shows the currently installed version of the application, as well as contact information. To download the latest version of the application, click the Get Update button.
-
The default browser is launched, if not currently running. A prompt appears for you to download the update deployment package. It is recommended to click the Save option.
-
Once the installer package is downloaded, click Run to launch the installer.
-
A Windows User Account Control prompt appears. This prompt appears because the installer requires Administrator access to deploy. If necessary, input your Administrator credentials. Click Yes to continue the deployment.
-
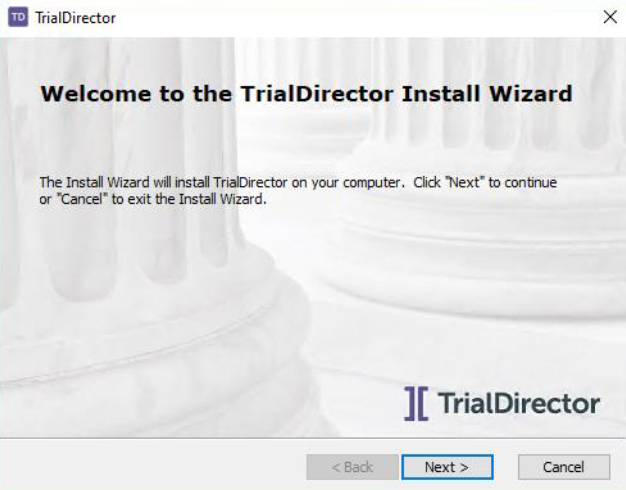
The TRIAL DIRECTOR installation wizard appears. Wait for the wizard to finish loading, then click Next.

-
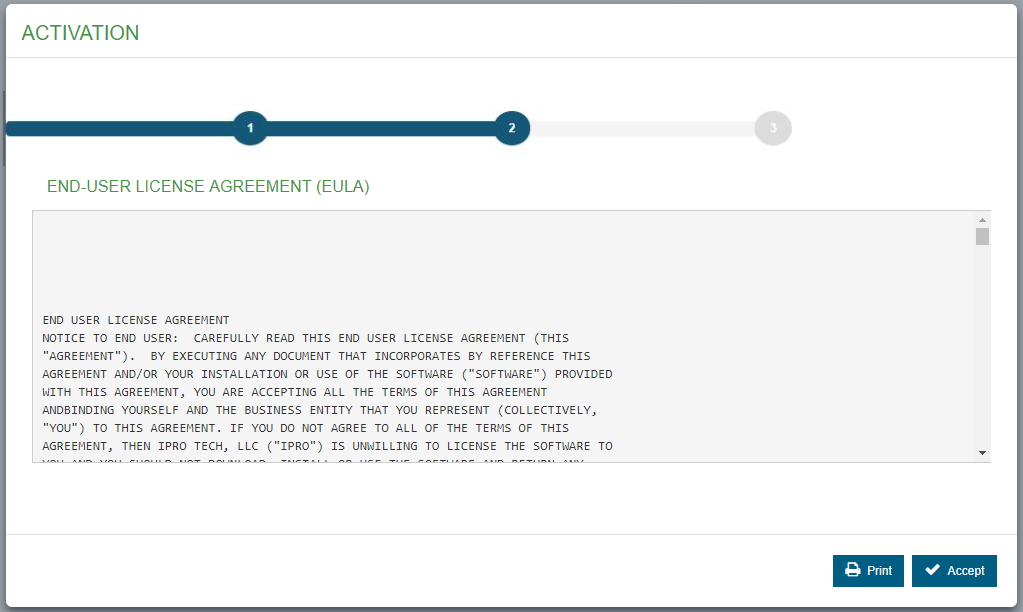
Accept the terms of the End-User License Agreement by selecting the top option. Click Next to proceed to the next step.

-
The Select Installation Folder page of the wizard displays. Ensure the correct folder is selected, then click Next.
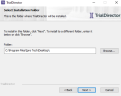

Note: If you want to install to a different local path, click the Browse button to browse to the folder where you want TRIAL DIRECTOR installed or enter a valid path in the Folder field. It does not matter where the previous version of the application was installed. Therefore, it is not necessary to install to the same location as the previous version.
-
On the final step in the wizard, click Install to begin the upgrade process.
-
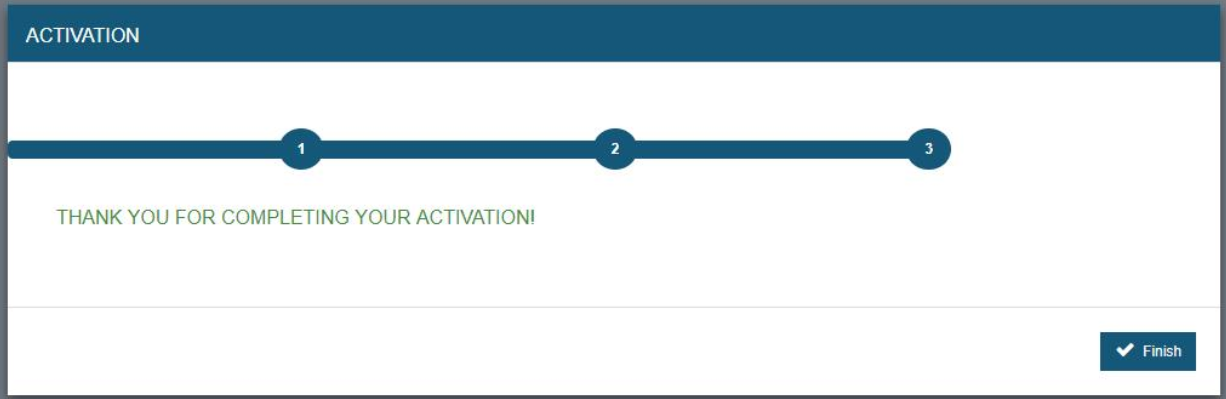
When the upgrade and deployment process is complete, the final page of the wizard displays. Click Finish to exit the wizard.


Update from the Web Portal
To upgrade TRIAL DIRECTOR from the Web Portal, follow the instructions below:
Log in to the TRIAL DIRECTOR Web Portal
As an existing TRIAL DIRECTOR user, you will be sent an email indicating that an update to TRIAL DIRECTOR is available on the Web Portal.
- Click on the link in the email to access the TRIAL DIRECTOR Web Portal, or visit trialdirector.com.
-
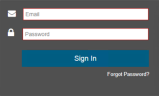
Log in to the Web Portal using your credentials.
It is assumed that you have already activated your TRIAL DIRECTOR account. If you have not done so, click
 here to view instructions for activating your account.


Download the TRIAL DIRECTOR Client
To download the TRIAL DIRECTOR 2020.4.0 client, follow the steps below:
|
|
Note: These steps assume that you have activated your Ipro account, per the instructions above. |
-
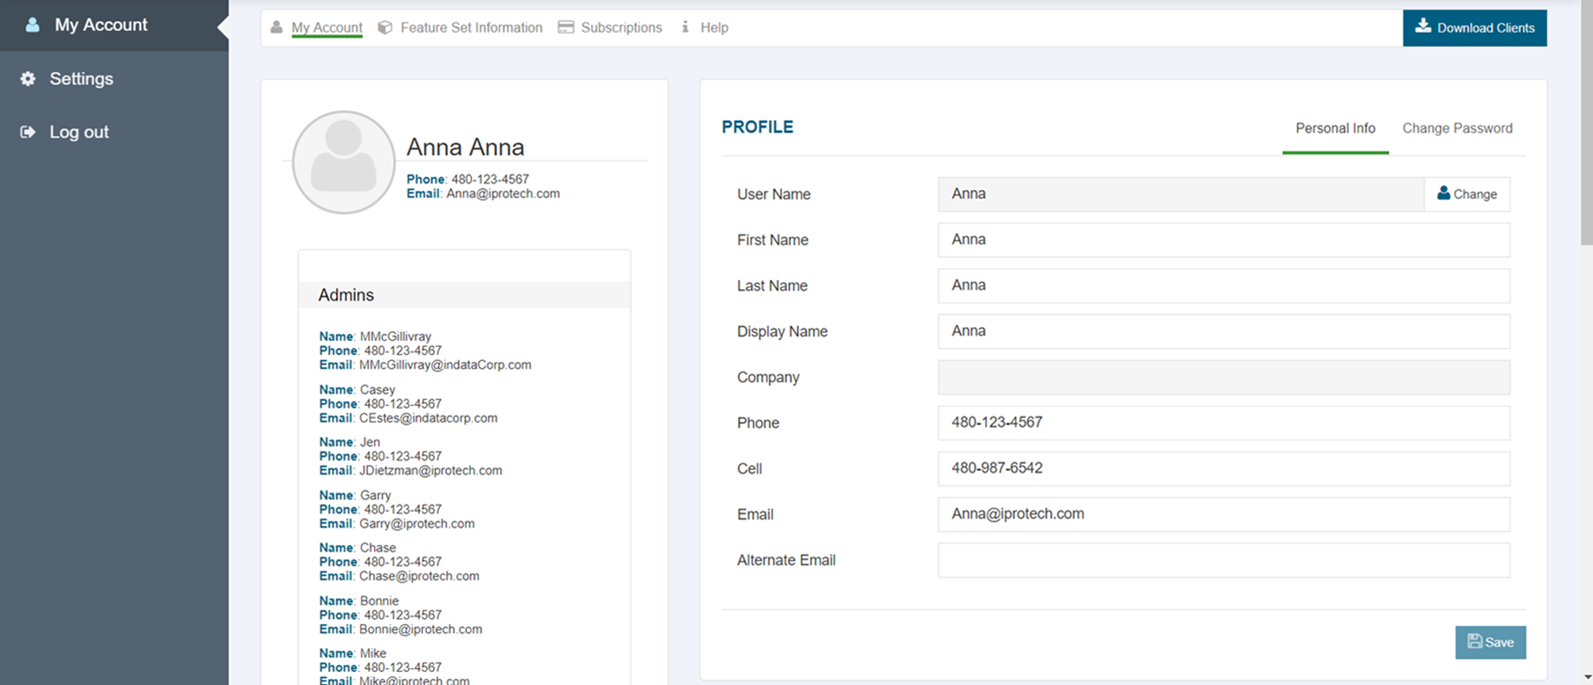
Log in to the TRIAL DIRECTOR Web Portal. The My Account page displays.

-
Make sure your pop-up blocker is disabled, click the Download Clients button.

The TRIAL DIRECTOR install package downloads to your local machine.
Note: If the installation package does not automatically download, check your browser settings again. Make sure you have properly turned off the pop up blocker for the TRIAL DIRECTOR Web Portal URL.
Proceed to the next step, installing the TRIAL DIRECTOR client.
Install TRIAL DIRECTOR Client
|
|
Minimum System Requirements are as follows:
You cannot install TRIAL DIRECTOR on a Oracle VM VirtualBox. |
To install the TRIAL DIRECTORclient:
-
After the TRIAL DIRECTOR installation package is finished downloading, locate the TRIAL DIRECTOR installation package and double click on the file.
The TRIAL DIRECTOR Installation wizard displays.
-
Click Next to continue.
The Select Installation Folder page of the wizard displays. The default installation path is C:\Program Files\Ipro Tech\Desktop\. We recommend that you install TRIAL DIRECTOR to the default installation location. TRIAL DIRECTOR must be installed to a local (fixed disk) path. It cannot be installed to a network location.
Note: If you want to install to a different local path, click the Browse button to browse to the folder where you want TRIAL DIRECTOR installed or enter a valid path in the Folder field. It does not matter where the previous version of the application was installed. Therefore, it is not necessary to install to the same location as the previous version.
-
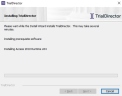
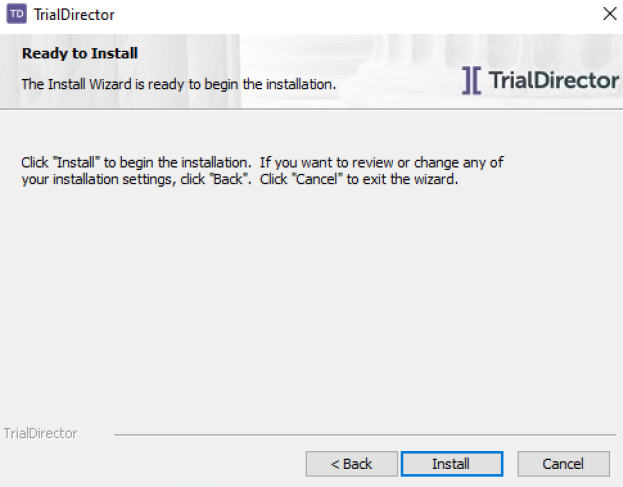
The Ready to Install page of the wizard displays. Click Install.

The installation process begins. TRIAL DIRECTOR is installed in the location indicated on the Select Installation Folder page of the wizard.
-
When the update and deployment process is complete, the final page of the wizard displays. Click Finish to exit the wizard.


Related Topics
Overview: Install, Update, or Upgrade TRIAL DIRECTOR or LOCAL DISCOVERY
Version: 2023.8.12
Last Revision: 11/8/2023