Edit a Workbook in Case Story
The Workbooks Explorer allows you to add, edit, or remove workbooks, as well as organize and search for specific items within each workbook.
To edit a workbook in the Workbooks Explorer:
-
From the dashboard, click the Fact Management module.

-
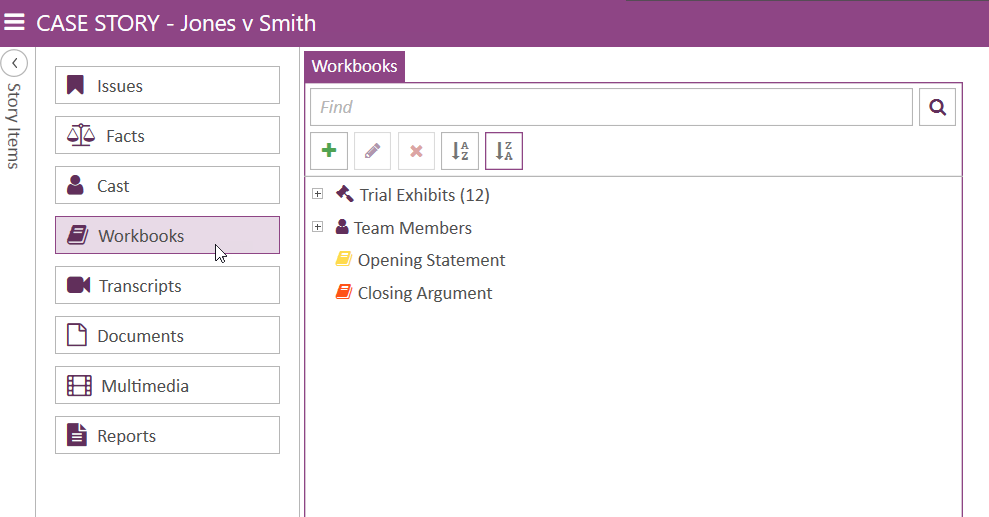
Select the Case Story tab in the left navigation panel.

-
Open the needed case by double-clicking the case name in the Cases table. Alternatively, you can select the appropriate case name, then click the Open Case button in the ribbon bar above the table.

-
Open the Workbooks Explorer by selecting the Workbooks tab on the left side of the page.

-
Select a Workbook and click the Edit button.


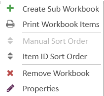
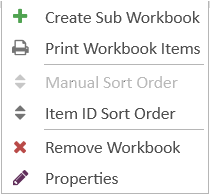
Note: The Edit Workbooks option is also found in the right-click context menu for a selected workbook.
A confirmation dialog appears.
-
Make any changes.
From here, you can change the name of the workbook or the color of the workbook.
-
Click Save.
The workbook information is updated.


Related Topics
Version: 2023.8.12
Last Revision: 11/8/2023