Link an Exhibit to a Transcript
You can link exhibits directly to a transcript using the Transcript Work Area. Linking an exhibit to a transcript makes that exhibit easier to find and provides the option of having it appear automatically when playing the synchronized video in court.
You can link an exhibit using the Transcript Work Area right-click context menu.
The Transcript Work Area Right-Click Context Menu
To link an exhibit to a transcript, use the steps below:
-
From the dashboard, click the Fact Management module.

-
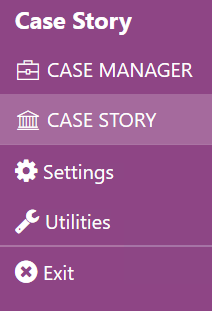
Select the Case Story tab in the left navigation panel.

-
Open the needed case by double-clicking the case name in the Cases table. Alternatively, you can select the appropriate case name, then click the Open Case button in the ribbon bar above the table.

-
Open the Transcripts Explorer by selecting the Transcripts tab on the left side of the page.
-
Select a transcript from the list.
-
Click the Open button in the ribbon bar in the Transcripts Explorer.

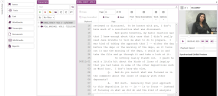
The transcript opens and appears in the work area.
-
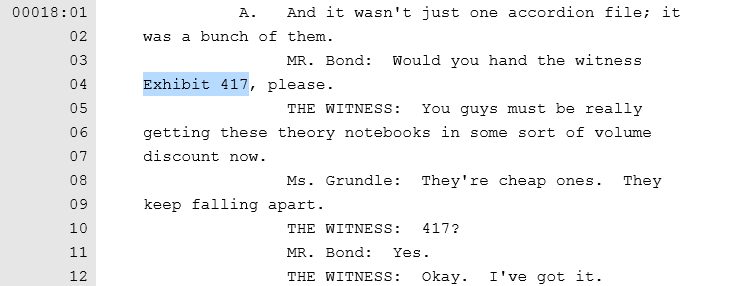
Select the text in the transcript where you want the exhibit to be linked.
-
Right-click on the selected text.

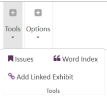
Note: Alternatively, you can select Add Linked Exhibit in the Tools section of the transcript ribbon bar.
-
Click either the Link to Existing Document button, or the Link to New Document button.

-
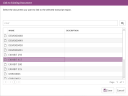
Link to Existing Document - Opens the Link to Existing Document dialog where you can select a document that has already been added to the case. After you select the document, click the Save button, and the document is added to the transcript as a link to the selected text.
-
Link to New Document - Opens the Link to New Document dialog where you can enter the path to the document you want from your local file system. You can use the Browse button to open the local file explorer to find the document if you do not already know the file path. Once the file path is entered, click the Save button in the dialog, and the document is added to the transcript as a link to the selected text.


|
|
Note: When you link an exhibit to a transcript on the web, a yellow link indicates the link is still processing and a red link indicates an error occurred during the link process. |
Exhibits you link to a transcript can be easily found under that transcript in the Transcripts Explorer as seen below.
![]()
|
|
Note: Synchronized Exhibits do not appear in the Exhibits folder located under each transcript in the Transcripts Explorer. They only appear as icons in the Transcript Work Area. See Attach a Synchronized Exhibit to a Transcript for more information. |
Open a Linked Exhibit
After you finish linking the exhibit using the steps above, click on the link in the transcript to open and view the exhibit. Or, right click on the exhibit and click the Open linked exhibit button in the right-click context menu.
You may also open the linked exhibit from the Transcripts Explorer. To do so, follow the steps below:
-
In the Transcripts Explorer, locate the transcript that contains the linked exhibit.
-
Expand the transcript, and the Exhibits folder underneath it, by selecting the
 button beside their names.
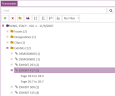
-
Locate the needed exhibit, then right-click on it and select Open in Document Work Area.
Remove a Linked Exhibit from a Transcript
To remove a link to an exhibit inside the transcript, simply right-click on the link and click the Remove linked exhibit button in the right-click context menu.
You may also remove the linked exhibit from the Transcripts Explorer. To do so, follow the steps below:
-
In the Transcripts Explorer, locate the transcript that contains the linked exhibit.
-
Expand the transcript, and the Exhibits folder underneath it, by selecting the
button beside their names.
-
Locate the needed exhibit, select it, and click the Remove Item button in the explorer ribbon bar.

- A message displays asking if you would like to proceed with the permanent removal. If so, select Yes.
Related Topics
Version: 2023.8.12
Last Revision: 11/8/2023