Create a Case Story Issues Report
You can create a report of the issues applied to items in your case using the Case Story module Reports Explorer. The Case Story Issues Report displays issues associated with any of the following elements: documents, transcripts, and facts.
Create a Case Story Issues Report
To create an Issues Report, follow the steps below:
-
Click the Case Story tab in the left navigation panel.

-
Open the needed case by double-clicking the case name in the Cases table. Alternatively, you can select the appropriate case name, then click the Open Case button in the ribbon bar above the table.

-
Click the Reports tab in the left navigation panel.

The Reports Explorer displays.

-
Click the Issues report item in the explorer.
-
Click the Run Selected Report button in the explorer ribbon bar. Alternatively, you can double click the report option to run the report.

The Issues Report wizard appears.

-
Select the required options for the report.

Note: See the table below for information on all of the report options.
-
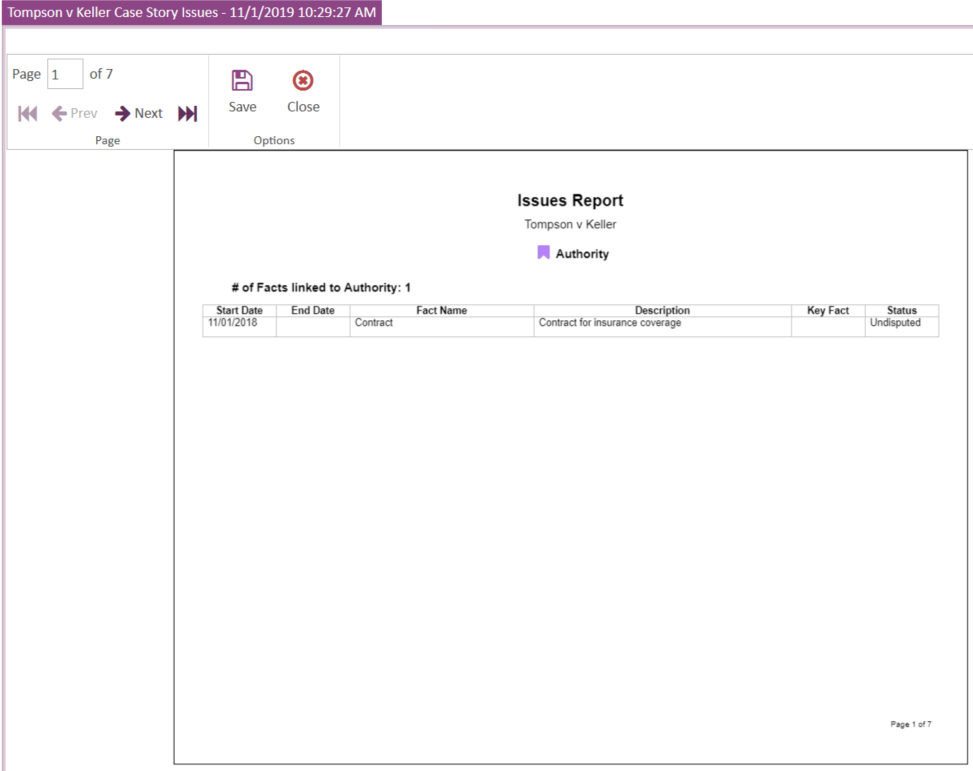
The Issues Report can be previewed, saved as a PDF, or exported as a CSV file.
To save or export the report, choose from the following options:
 Preview or Save the Issues Report as a PDF
Export the Issues Report
Preview or Save the Issues Report as a PDF
Export the Issues Report


Report Options
The Issues Report contains the following customization options:
|
Option |
Definition |
|
Issues Options |
You can choose between two options:
If you choose the Selected Issues option, you can choose the issues you want to include in the next step in the wizard. |
|
Include |
You can choose to include the following options in the report:
|
|
Elements |
You can choose to include the following elements in the report:
|
|
Export Options |
You can set the following export options:
|
Related Topics
Version: 2023.8.12
Last Revision: 11/8/2023