Edit Database Fields
After a case is created or migrated, you may need to change various aspects of the database fields. You can:
Field Change Limitations
|
|
NOTE: Adding or changing a control list for a field that is defined with the Category flag will not impact existing data. |
Change Field Definitions
To change field definitions:
-
On the Dashboard, click the Case Management module.

-
In the navigation panel, click the Cases tab.

-
Locate the case you would like to edit. Double-click on the case to open the Edit Case wizard.

NOTE: If the case does not yet contain data (because you have not yet imported any), then most changes to database fields can be made. After a case contains data, some changes are not allowed, as indicated by what is available in the Field Definition dialog box.
-
Click the Database Fields tab. Field details for the case are listed. Continue with the following steps as needed.

-
To add a new field:
-
Click the Add Field button near the top of the wizard.

-
Define the new field. See About Database Fields for details on fields.
-
To change field-level security, see Change Field-level Security.
-
When finished, click Save.
Note: New fields are added to the last page of the Database Fields table. Navigate to the new field by using the navigation arrows at the bottom of the table.
-
-
To edit a field definition:
-
Select the field in the table you need to edit. Click the Edit Field button near the top of the wizard.

-
Make changes as allowed in the Field Definition dialog box. See About Database Fields for details on fields.
Note: For example, you will see a red message in the dialog box if you attempt to change a SINGLE VALUE field to NUMERIC after the field contains data.
-
To change field-level security, see Change Field-level Security.
-
When finished, click Save.
-
-
To delete a field:
-
From the fields table, select the field you need to delete. Click the Remove Field button near the top of the wizard.

-
Click Yes in response to the confirmation message.
NOTE: Deleted fields remain available in Case Management. In the Database Fields table in the Edit Case wizard, the fields continue to display, however they are changed to the field type DELETED.
-
-
Rebuilding indexes:
-
If the changes you have made impact the case index, the Rebuild Indexes button near the top of the wizard becomes clickable.

-
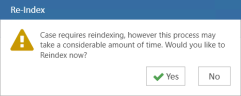
To rebuild case indexes now, click the button. Then click OK in response to the confirmation message (shown in this figure).
-
Wait as the index is rebuilt. A completion message displays when indexing is complete.
-
If you do not rebuild the case index now, plan a time for this task; see Index Maintenance for details.
-
-
When finished, proceed to make any other changes in the Edit Case wizard. When all changes have been made, click Save and Exit. All changes are implemented.


Change Field-level Security
Field-level security is part of a field’s basic definition. By default, all fields are set to Update for a case. With this setting, users assigned to a case or batch will be able to edit the fields in Review.
Note:
-
Field-level security applies to viewing and changing field data, not modifying field definitions.
-
Field-level security does not apply to Case or Super Administrators, who can edit all fields within a case or batch regardless of field-level security settings.
-
Coding form security, if set, will override field-level security.
-
Plan your field-level security strategy before making field-level security changes.
|
|
NOTE: For best results, evaluate the fields in the database to determine the appropriateness of allowing or restricting updates. Several possible reasons for imposing restrictions exist, for example:
|
Set field-level security
To set field-level security:
-
On the Dashboard, click the Case Management module.
-
In the navigation panel, click the Cases tab.
-
Locate the case you would like to edit. Double-click on the case to open the Edit Case wizard.
-
Click the Database Fields tab. Field details for the case are listed. Continue with the following steps as needed.
-
Select the field in the table for which security is being set. Click the Edit Field button near the top of the wizard. Then complete step 6 and/or 7.
-
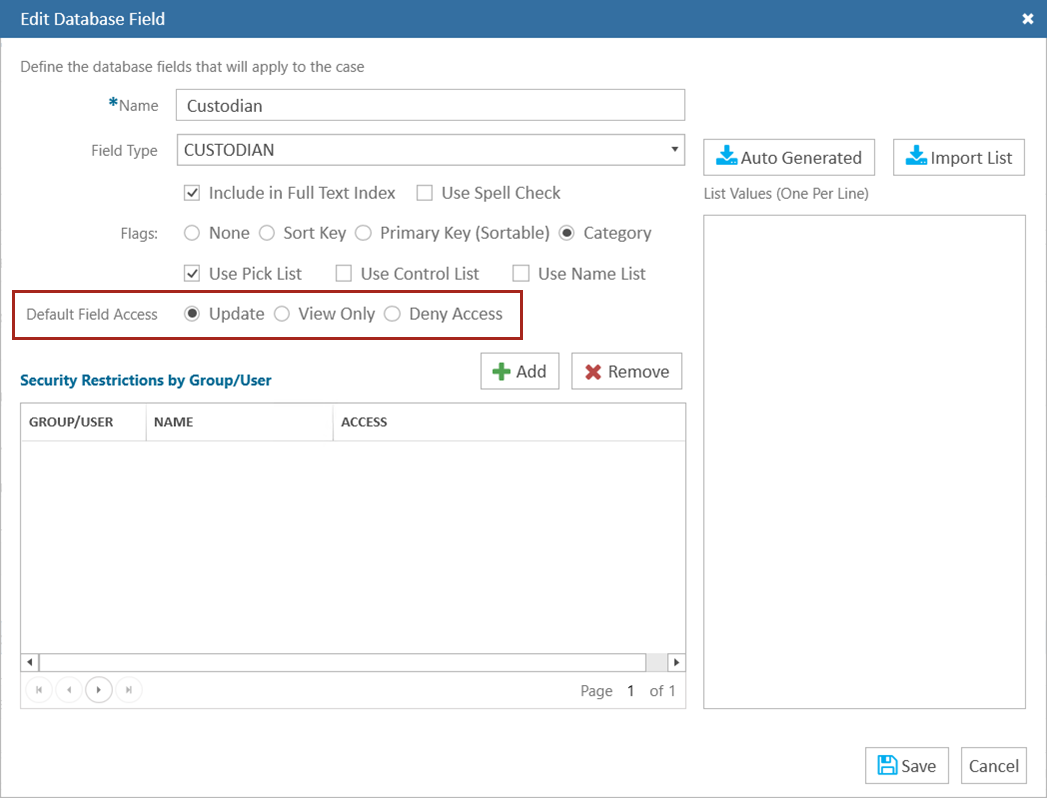
To set the default security level for all users, select a field security option in the Default Field Access area:

- Update: Allows the field to be viewed and edited.
- View Only: Allows the field content to be seen but not edited.
- Deny Access: Prevents the field from being viewed or edited.
-
To set field security for individual users or groups:
-
In the Security Restrictions by Group/User area, click Add.
-
As applicable, click Group or User, then select the group or user for which field security is to be set.
-
Select the needed setting (described in the previous figure).
-
Click Save.
-
Repeat these steps to set field security for other groups or users.
-
Review settings in the Security Restrictions by Group/User area.
-
When finished, click Save in the Edit Database Field dialog box. These settings will override the default field access setting.
-
The default setting will apply to the field in Review, whether in the case table or in a coding form (except for Super or Case Administrators).
Related Topics
Version: 2023.8.12
Last Revision: 11/8/2023